One of the most vital parts of a campervans electrical system is determining the correct size and type of wire to use for each circuit.
If you install a wire that is too small, it is likely to result in it becoming hot and potentially catching fire.
On the contrary, selecting a wire that is too large, and you’ll be wasting money on the extra copper you simply don’t require.
Wiring Construction
Before you work out what type of wire you should use for your electrical circuit aboard your campervan, you must first learn a little more about wires in general.
Conductor

The conductor is the element found inside a wire. This material is usually a metal (typically copper) and allows electrical current to flow.
Wiring generally used aboard a vehicle is flexible. The reason for this is when exposed to vibration and mechanical shock, copper, is susceptible to work hardening. This is the process where metal over an extended period can become brittle, which will ultimately lead to failure and break.
This can become especially prevalent aboard a vehicle when in motion due to vibrations and the constant movement.
This combat this, manufactures have created what is known as stranded wires. As the name suggests, a stranded wire has a core that is made up of many small-diameter strands of copper. These individual strands make up the desired cross-sectional area (C.S.A.), rather than using a single solid conductor.
As a result, a stranded wire offers much greater flexibility.
This improves the resistance to work hardening, and such makes a stranded wire the ideal choice for a campervans auxiliary electrical system.
Insulation

The insulation is the outer material that surrounds and protects the wire conductor. It is typically coloured and made out of a non-conductive material that is resistant to an electric current.
For positive power, is it generally accepted to use a wire with red insulation, and for negative, you would use black.
Cross-sectional area (C.S.A.) of the conductor

The cross-sectional area is expressed in mm² and describes the total cross-sectional area of the conductor.
Conductor number and size

The conductor number and size is the total number of conductors of a given diameter. For example, 19/0.30 means that there are 19 conductor strands, each with a diameter of 0.30mm.
Overall diameter

The overall diameter is expressed in mm. This is the total wire diameter, including insulation.
Resistance

The resistance is the total electrical resistance of the conductor. This is expressed in Ohms per metre (W/m) and is essential when determining voltage drop.
How To Choose The Correct Wiring Size
To work out the correct gauge of wire for your campervan circuit, you first must carry out two calculations.
Step 1: Work Out Circuit Current Draw
The first task is to calculate how much current will be required for that particular circuit.
Single Device

If you intend on running one appliance on this individual circuit, working out the total current draw should be relatively easy.
For most D.C. powered devices, the electrical information is typically listed in Amps (max-amperage). This information is generally displayed on the back of the device itself.
If your device displays the electrical information in watts, use our handy watts-to-amps calculator below. Alternatively, if you like to use brainpower, simply divide the wattage to your campervans auxiliary system voltage (this is almost always 12 volts).
If your device does not display any electrical information, you must then do a little research on the internet. A good approach is to email the manufacture of the equipment directly.
And finally, If all else fails, you can always use a multimeter on your device as you temporarily connect the device to a 12-volt power supply.
A multimeter will show you the exact amount of current your device will require.
[su_label]Hint:[/su_label]Remember to turn your device to its maximum power setting to achieve an accurate reading.
Multiple Devices

If you intend on running multiple devices of one circuit, copy the process as listed above for each individual device.
Then, add all the devices together to return the total current draw.
Practical Example
Item: 12V L.E.D. lights Specs: 12V @ 3w Quantity: X3 These L.E.D. strip lights are rated at 3 watts @ 12-volts.

If we use our super handy watts to amps calculator, each L.E.D. strip light will require 0.25 amps of power. As we intend on running 3 lights, that gives a total of 0.75 amps.
[su_spoiler title=”Watt to Amps Calculator” open=”yes” style=”fancy” icon=”plus-square-1″][CP_CALCULATED_FIELDS id=”6″][/su_spoiler]
Step 2: Work Out The Total Wire Length For The Circuit

You now need to calculate the distance the wiring is going to travel. Once you have this figure, you then have to double it.
When calculating wire sizing for D.C. systems, the wire length refers to the total length of both the positive and negative wire.
And remember, most of the wires you will be installing aboard your vehicle will no be travelling in a straight line. Your wires are going to go through walls and around furniture.
An excellent way to get an accurate measurement is by using a length of string to replicate the wire.
Step 3: Use an Online Wire Calculator
Now you must put your figures in an online D.C. wire calculator. However, before you do that, there is one more consideration you should be aware of.
Voltage drop
Every element of an electrical circuit has a certain amount of electrical resistance – including the actual electric wire used to power your items. This means there will be energy loss in the form of voltage drop along the length of the cable.
For example, a light bulb converts electrical energy into heat and light due to resistance in the filament or L.E.D. The same principle can be said for the conducting element found inside a wire. In a wire, the resistance comes in the form of heat. As a result, this will produce a slight drop in overall voltage.
As the auxiliary power system aboard a campervan generally operates at low voltage (12-volts), the overall cable length can have a significant impact on voltage drop. For example, a cable run of a few meters for a small cross-section conductor can produce a significant voltage drop.
In a super simple analogy, 12 volts will enter the wire, but 11.5 volts will leave.
When it comes to selecting the appropriate cable for a D.C. electrical circuit, it is generally accepted to aim for a maximum voltage drop of around 3 to 4 %.
Fusing

Section 1: Understanding Fuses
What Is A Fuse?
A fuse is an essential electrical safety device that operates to provide overcurrent protection of an electrical circuit.
How does a fuse blow?
The core element of a fuse, depending on the type, is a metal wire or strip that melts when too much current flows through. As a result, the fuse successfully stops the flow of current and blows. This is generally caused by overcurrent.
What causes excessive current?
As it sounds, overcurrent is an excess of current (or amperage) in an electrical circuit. This can happen when the current exceeds the rated amperage capacity of that circuit or of the connected equipment on that circuit.
- Incorrect wiring. For example; this can happen if you were to install inadequately rated wire due to human error.
- Damage to the circuit. For example; a wire terminal has become loose/snapped, or the wire’s insulation has started to degrade leading to an exposed wire. Failure to fix the problem can cause a positive wire to short to ground.
- Overloading the circuit. For example; connecting one or more electrical devices that draw more current than the circuit is designed to carry.
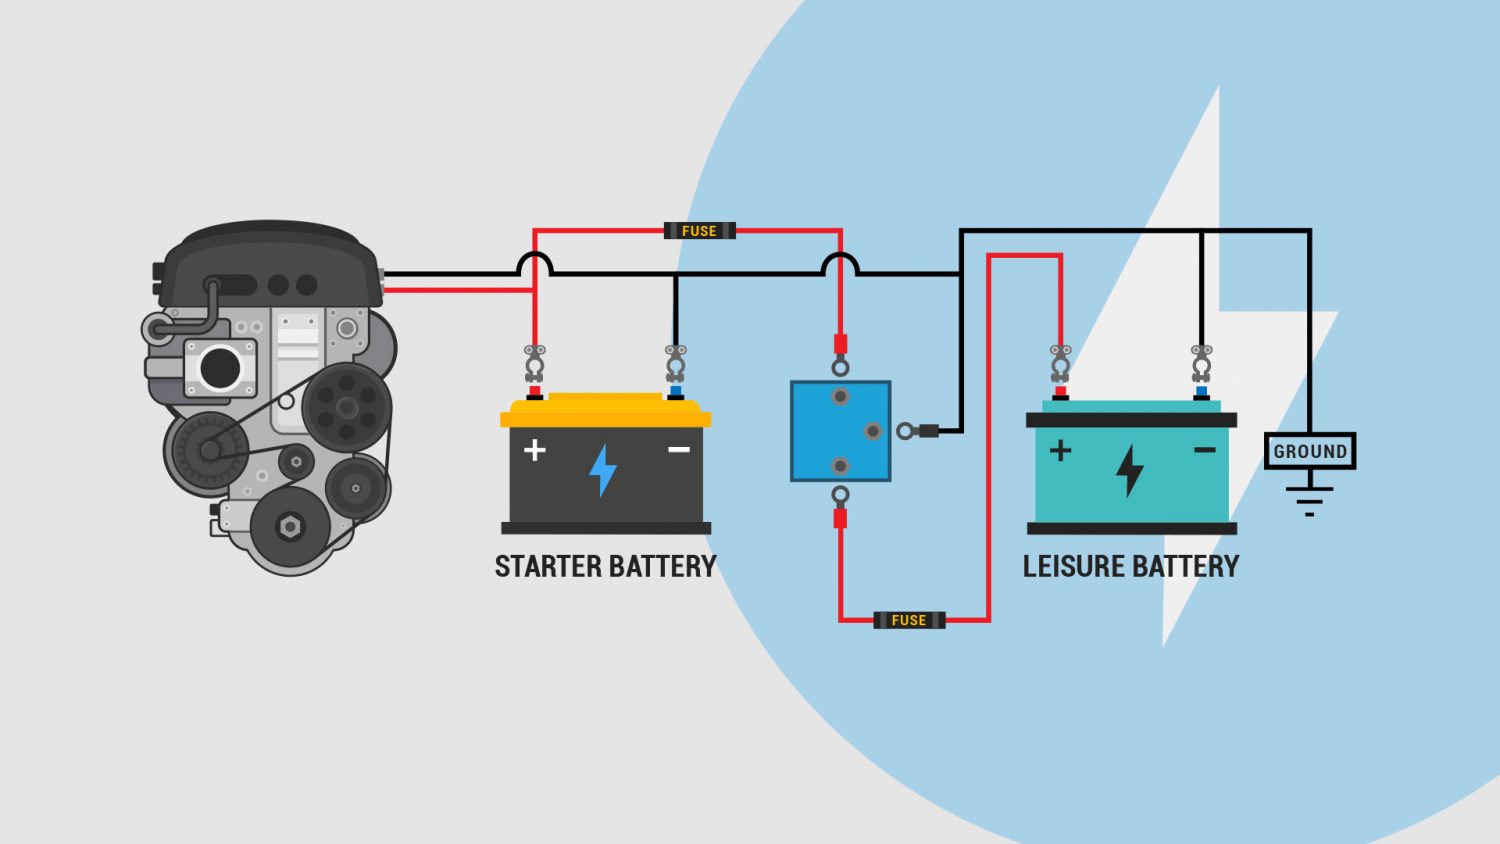
Where should I put a fuse?

If a perfect world, you would install a fuse on every section where there is a positive wire. This would then provide the most protection for your electrical system. It would also make fault finding a simple process. However, for most scenarios, this is a little overkill.
If you were to install a fuse on every positive wire, it would lead to multiple fuses fitted throughout your electrical system. This would soon become impractical and eventually, costly.
The best option would be to fit a fuse on every individual circuit in your campervans auxiliary electrical system. This method would still provide adequate protection from a fuse-to-practicality standpoint. And if that circuits fuse was to blow, narrowing down the suspected problems should be a quick and straightforward process.
However, it is worth noting that the section of the wire coming from the positive terminal of the battery to the first fuse (or fuse box) is effectively unprotected. If this was ever too short, it could cause an electrical fire.
For this reason, you should fit the first fuse for each electric circuit as close to the battery/power source as possible.
This will minimise any potential damage in the future.
Selecting the correct fuse rating
Its worth remembering that a fuse should be the weakest point in your electrical circuit. This is because you want your fuse to blow before any damage can occur to the other parts/devices of the circuit.
However, you don’t want the fuse to keep blowing under regular operation. This is known as a nuisance blow.
To correctly work out what fuse to install, you first need to work out:
- What is the maximum continuous current rating of the smallest wire in that particular circuit?
- What is the current draw on the circuit under normal conditions?
Once you have these figures, your fuse rating should then lie between the two values.
[su_note note_color=”#bde5f9″ text_color=”#000000″ radius=”0″ class=”note_style1″]
Practical Example
If the current draw for that particular circuit is 15A under normal conditions, and maximum continuous current rating of the wire is 40A, then a fuse rated at 20A would be appropriate.
[/su_note]
Section 2: Fuse Components
Here is a list of the most common fuse components you’ll find aboard a campervan.
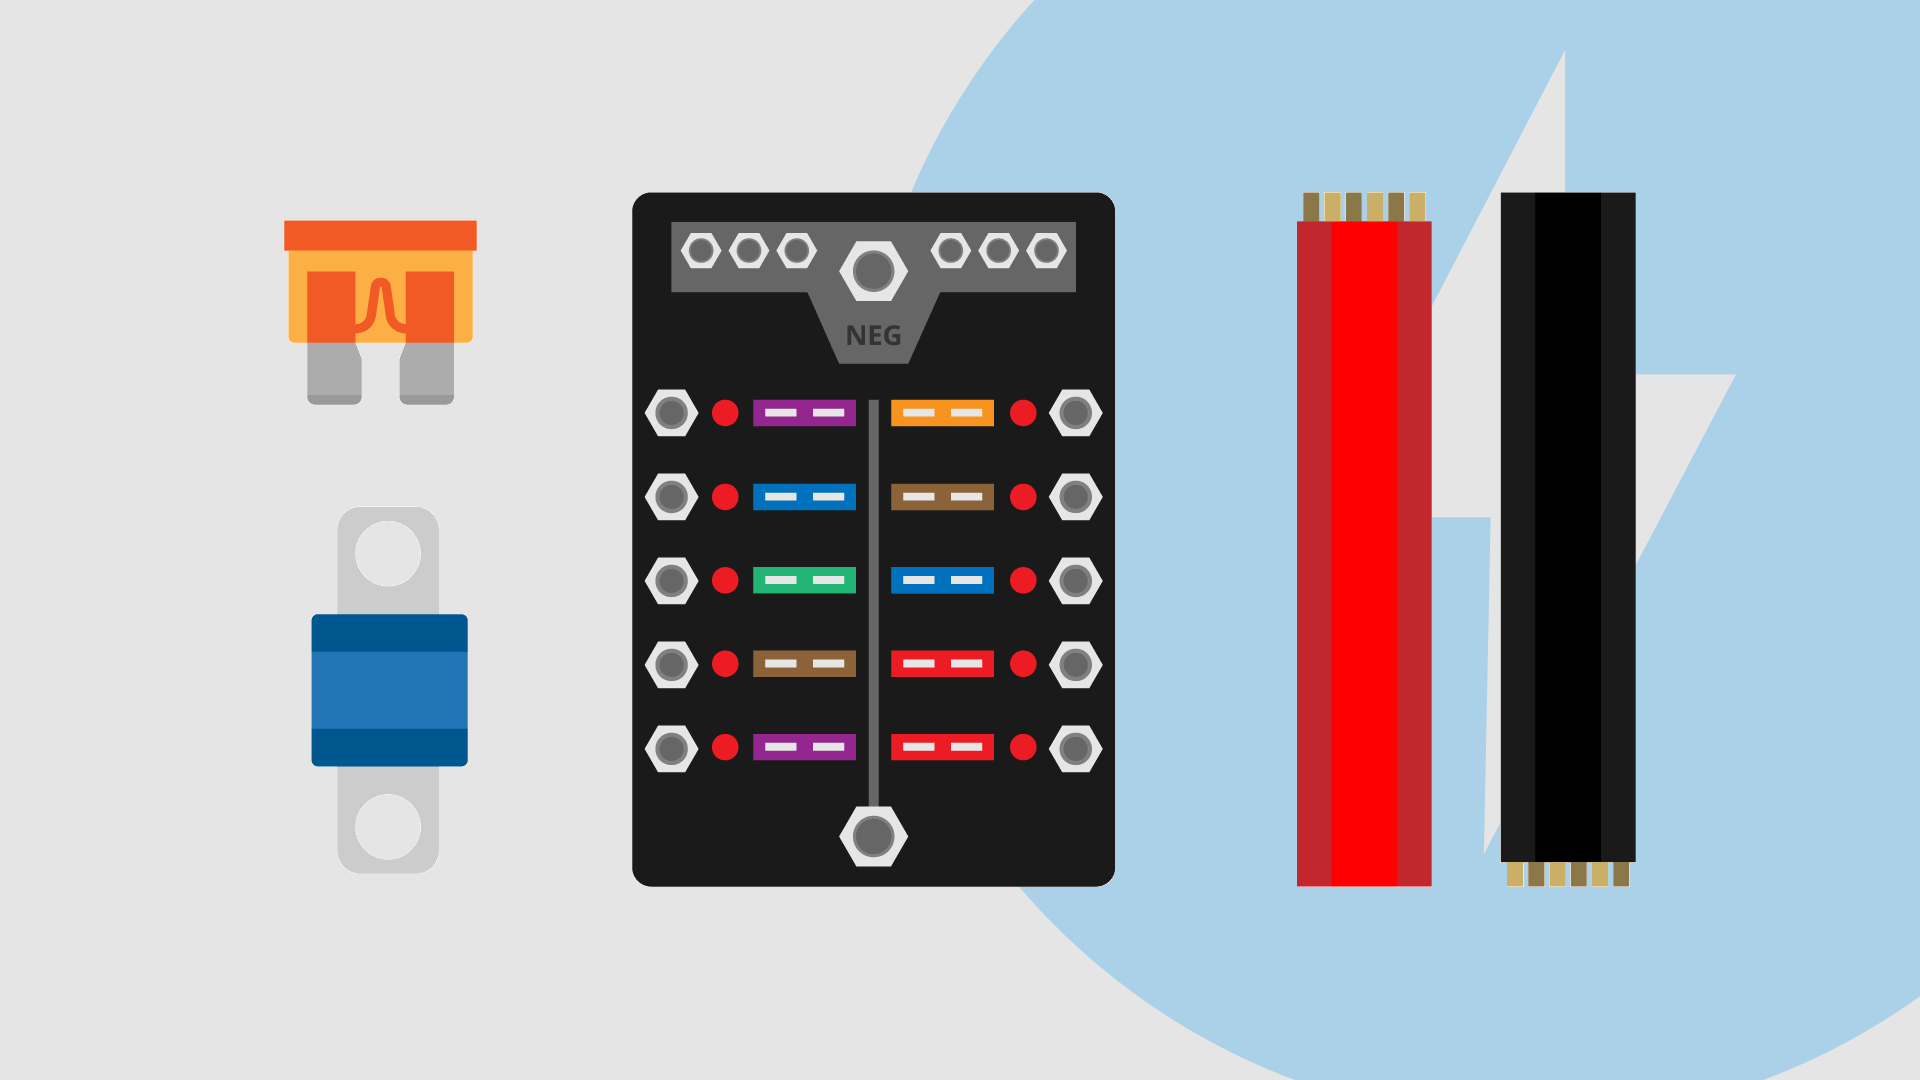
Blade Fuse

The most commonly used fuse in a vehicle is a blade fuse. These fuses are inexpensive, very reliable, and are straightforward to fit/replace.
Link Fuse

Inline Fuse Holder
An inline fuse holder is a specially created holder for your fuse. These are typically available to accept a blade or link fuse.
Useful Diagrams & Charts
AWG to Metric Cable Size Conversion

Disclaimer
VanLife Adventure has made every effort to make sure all information displayed on this website is correct and valid.
However, neither VanLife Adventure nor its employees warrants or accepts any liability for the use of any of the information presented here. The user is cautioned to seek competent engineering assistance when carrying out any electrical installations.